One Recording, Infinite Weather: A Beginner's Guide to Granular Ambient

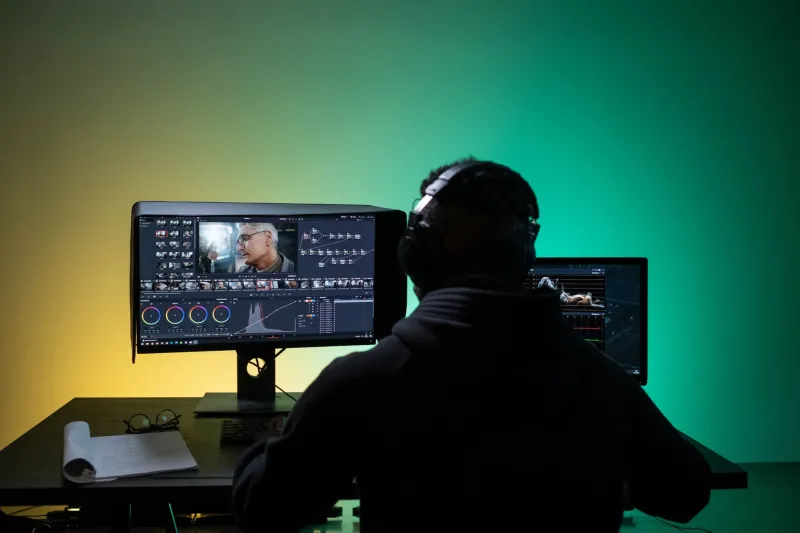
Photo: John Williams, Public domain, via Wikimedia Commons
Granular synthesis has a reputation problem. It sounds like advanced math, looks like a plugin with too many sliders, and often gets explained with words like 'grain clouds' and 'time-smearing' before anyone tells you what to actually do. But the basic idea is simple: take a recording, chop it into tiny pieces, and play those pieces back in ways that create new textures. You do not need a modular rig or a degree in computer music. You need one good field recording and a little patience.
What Granular Synthesis Actually Does
A granular synthesizer takes an audio file and divides it into very short slices called grains. Each grain is usually between 10 and 100 milliseconds long. The engine then plays those grains back according to settings like position, density, pitch, spray, and envelope. When the grains overlap quickly enough, your ear stops hearing individual slices and starts hearing a cloud, a smear, or a new drone.
The magic is that the source material does not have to be musical. A recording of rain on a metal roof, a train platform, a creek, or a room tone can become the raw material for an entire track. Granular synthesis is less about adding notes and more about redesigning the way time passes through a sound.
Pick the Right Raw Material
Start with a recording that has texture and movement. A static hum can work, but it will not teach you as much as something with small variations: leaves, gravel, water, distant traffic, a fan, a crowd, or a close-miked piece of paper. Keep it short. Ten to thirty seconds is plenty. Trim out obvious clicks and long silences. If the source is stereo, check it in mono so you know what the center is doing.
Do not over-clean it. A little noise is useful. Granular engines love small irregularities. A perfectly smooth pad often turns into a perfectly boring cloud.
Free and Affordable Tools to Start
You probably already own a granular engine without knowing it. Ableton Live users with Max for Live can use Granulator II. Logic Pro users can explore Alchemy's granular mode. Bitwig's Sampler has granular options. If you are in Reaper, look at third-party granular plugins. Free options include VCV Rack, SuperCollider, and Pure Data, though those last two ask for a little more curiosity. On iOS, Borderlands and Spacecraft are affordable ways to learn the feel of granular playback. Hardware like the Tasty Chips GR-1 is fun, but it is not required. Start with software and save your money for good monitors or a field recorder.
Exercise 1: Build a Cloud
Load your field recording into the granular engine. Set grain size to around 40 to 80 milliseconds. Set density so the grains overlap but do not turn into a solid brick. Start with position fixed in the middle of the file. Play a note and listen. You should hear a soft, shimmering version of the source.
Now slowly move the position knob. This is the first real granular lesson: position is your timeline. Moving it is like dragging a playhead through the recording, but the result is smeared and fluid. Try moving it in small gestures rather than sweeping it constantly. Let the cloud sit still for a few seconds, then nudge it.
Exercise 2: Make It Breathe
A static cloud is a good starting point, but it is not music yet. Add movement. Modulate pitch by a few cents or a semitone. Add a slow LFO to grain size. Use a random or spray control to loosen the timing. If your engine has a filter, put a gentle low-pass filter after it and automate the cutoff over thirty seconds.
The goal is to make the texture feel like weather. Weather does not change every beat. It changes in slow fronts. Use long automation curves. Let one parameter move over a minute. Then add a second movement that arrives later. That is how a granular patch starts to feel alive.
Exercise 3: Turn a Cloud Into a Drone
Once you have a cloud you like, try freezing it. Many granular engines have a freeze or hold function that keeps the playback position fixed while grains continue to spill out. Freeze the cloud on a rich part of the source and let it run. Now layer a second instance of the same recording with a different grain size and a slightly different position. Pan them apart. Add a third layer an octave down, but keep it quiet.
This is how a single field recording becomes an endless world. You are not adding more source material. You are multiplying perspectives on the same material.
Mistakes That Kill the Motion
The most common mistake is too much density at one pitch. It turns the cloud into a thick static pad with no internal life. Pull the density back. Let gaps happen. Another mistake is overprocessing: reverb, delay, and saturation can blur a granular texture until it loses its identity. Start dry, then add space only where it helps.
A third mistake is no automation. If every parameter stays where you set it, the patch will sound like a preset. Automate position, pitch, density, and filter cutoff in slow, overlapping curves. A fourth mistake is ignoring the low end. Granular clouds can accumulate rumble, especially with field recordings that contain wind or traffic. High-pass the layers that do not need bass, and check the mix in mono.
Finally, record your performance. Granular patches are instruments. They respond to your hand movements and small decisions. Print the output to a new track, then edit the best moments. That is how a fun experiment becomes a finished ambient piece.
A Final Patch Note
Granular synthesis is not about complexity. It is about listening to tiny details and letting them repeat in new patterns. One recording can be enough. Pick a sound you like, make a cloud, teach it to breathe, and freeze it into a drone. The world is already in the file. You are just changing the way it moves.